


You know what I find difficult? Finding new and exciting vegetarian lunches. I’m tired of having the same old-same old lunches. This is why, I recently undertook a mission. A mission to search for the best vegetarian lunches out there and compile a list, not just for my family but also for any other families in the same conundrum as us.
After finding a bunch of recipes I wanted to try, I headed off to the grocery store, seeing as most of them required ingredients not lying around in our kitchen (like oregano and green onions) - don’t blame me, I’m a baker. Our grocery list included stuff like garlic, Greek yogurt, sweet potatoes, sunflower seeds and more. I’m happy to report, we found everything nice and easy :)
Now, let me just say, I did not know what to expect from this recipe. I have never had sweet potatoes before (now that I think about it, there’s many things I’ve never had...). Frankly, this recipe did not sound appetizing. What really turned it around for me, however, was the pictures that were posted alongside it. I knew I had to give it a try... and I’m so glad I did.
This sweet potato salad might as well be the best salads I’ve ever had.
The sweetness from the sweet potatoes and honey, contradicts the spices from the chili pepper and onions. However, that’s what makes this recipe work. The contradiction of flavours makes for one heck of a lunch... and the best part is that it’s vegetarian!


Sweet Potato Salad
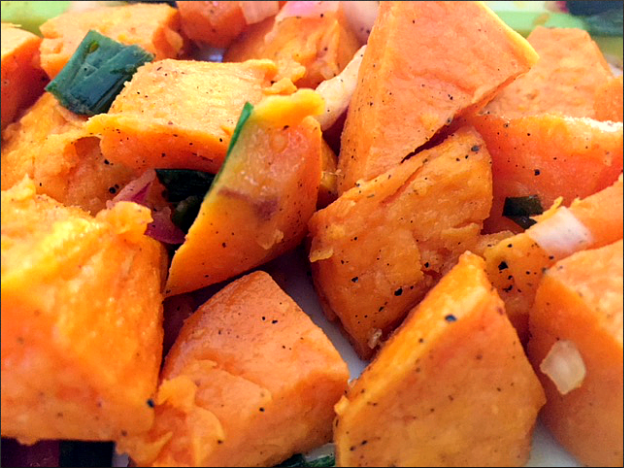


Sweet Potato Salad
Ingredients:
2 sweet potatoes, chunks
1 tbsp olive oil (for potatoes)
2 tsp olive oil (for dressing)
1 green onion (diced)
3 tbsp vinegar (white or red wine will work)
1 tbsp pure maple syrup
1 shallot (diced)
Salt and pepper to taste
(optional) ½ tsp of various powdered spices (oregano, paprika, cayenne)
Steps:
1. Preheat oven to 390℉ (200℃), line a baking sheet with parchment paper
2. Toss sweet potatoes with olive oil and spices (if using any). Spread on lined baking sheet and bake 25-30 minutes
3. Cool for 10-15 minutes
4. Meanwhile, prepare dressing by combining shallot, green onion, maple syrup, vinegar and olive oil.
5. Enjoy warm or cold :)
Notes:
- Refrigerate before serving to allow flavour to seep evenly into potatoes
- Feel free to substitute honey for maple syrup


